How to Make an Easy Lava Lamp Sciencekidsconz
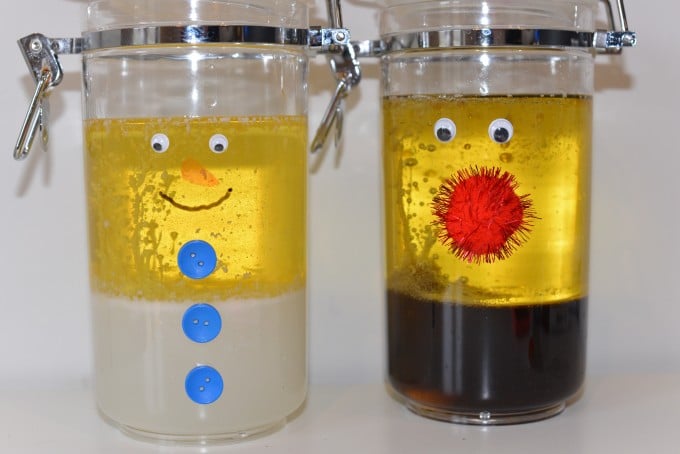
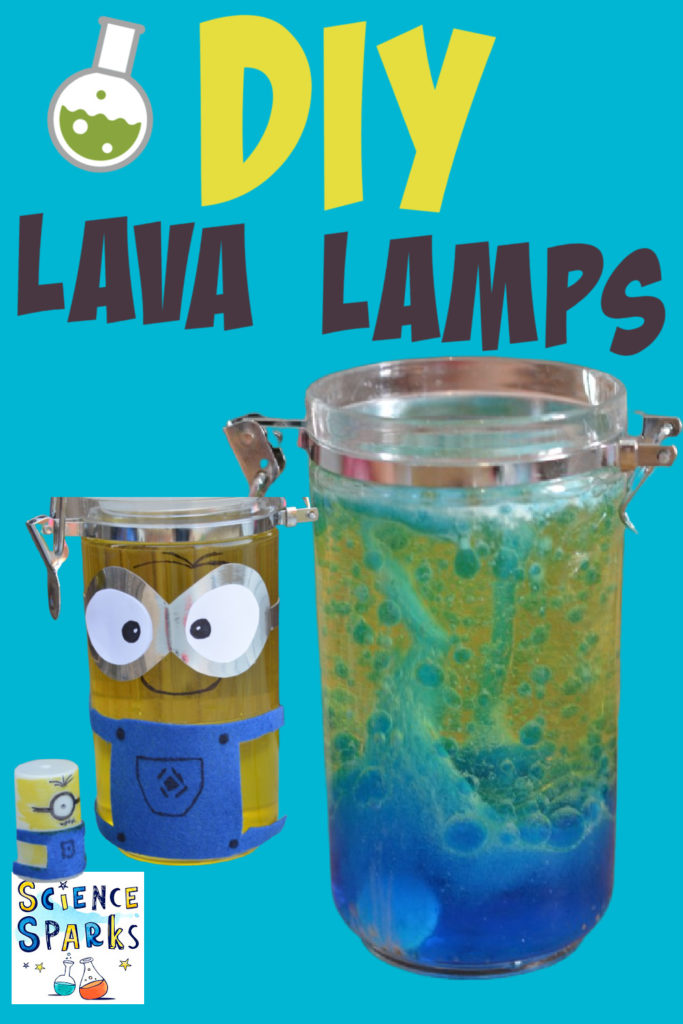
Do you know how to make a lava lamp? DIY lava lamps are one of our favourite science experiments as they are super simple to make, can be used over and over again and you can be a creative as you like with them. We've made Minions, Reindeers and even Snowmen lava lamps!
Lava lamps are also a safe, exciting and visual way to introduce chemical reactions and the often tricky concept of density to children ( the oil floats beautifully on top of the water ).
How to make a lava lamp
What you need to make a lava lamp
- A clear plastic or glass bottle or jar
- A bottle of vegetable oil
- Water
- Alka Seltzer
- Food colouring (a bright colour is best!)
DIY Lava Lamp instructions
Fill the bottle about a quarter full with water. Top up to the (near) top with the vegetable oil.
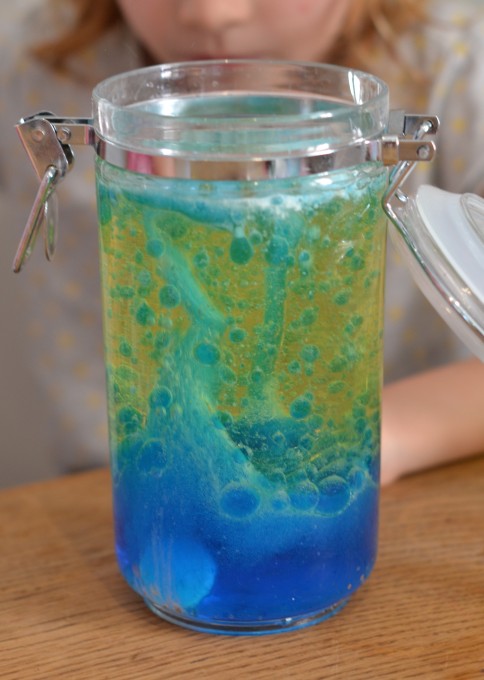
The oil and water should separate into two layers, water at the bottom and oil on the top.
Once the oil and water have separated, add enough food colouring to get the colour you want. The colour will mix with the water at the bottom.
Pop in half an alka seltzer tablet and watch the bubbles form. Add more alka seltzer little by little to keep the bubbles rising and falling.
Top Tips for making a DIY lava lamp
Try using effervescent vitamin tablets instead of alka seltzer, these are usually a bit cheaper and have the same effect, although they might colour the water slightly.
More science experiments to try
What happens if you use half a tablet? Or two?
Once the reaction has finished, try gently tipping the bottle on its side. What do you notice?
Why do homemade lava lamps work?
Alka seltzer is made of citric acid and sodium bicarbonate which react with the water to form carbon dioxide gas and sodium citrate. It is the bubbles of carbon dioxide that carry the coloured water into the oil giving a lava lamp effect.
NOTE – Please supervise the use of alka seltzer and effervescent vitamin tablets.
Why do oil and water separate?
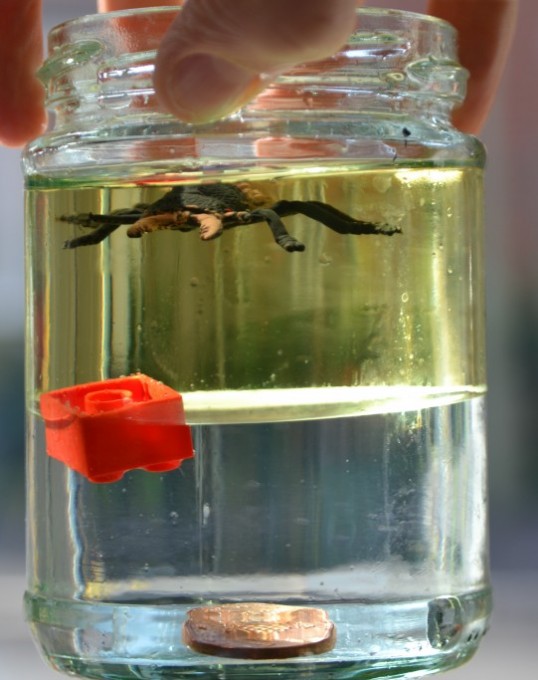
Water and oil do not mix. This is because water is a polar molecule – it's structure means that is has a positive charge one end and a negative charge the other. Water molecules stick together because the positive end of one water molecule is attracted to the negative end of another. Oil molecule structure is different – it is non polar meaning that its charge is more evenly spread out, so the oil is not attracted to water – in fact we call it hydrophobic (water fearing) so it tries to get as far away from water as possible and will not mix. The reason that oil rests on top of the water rather than underneath is because it has a different density to water.
More DIY lava lamp ideas
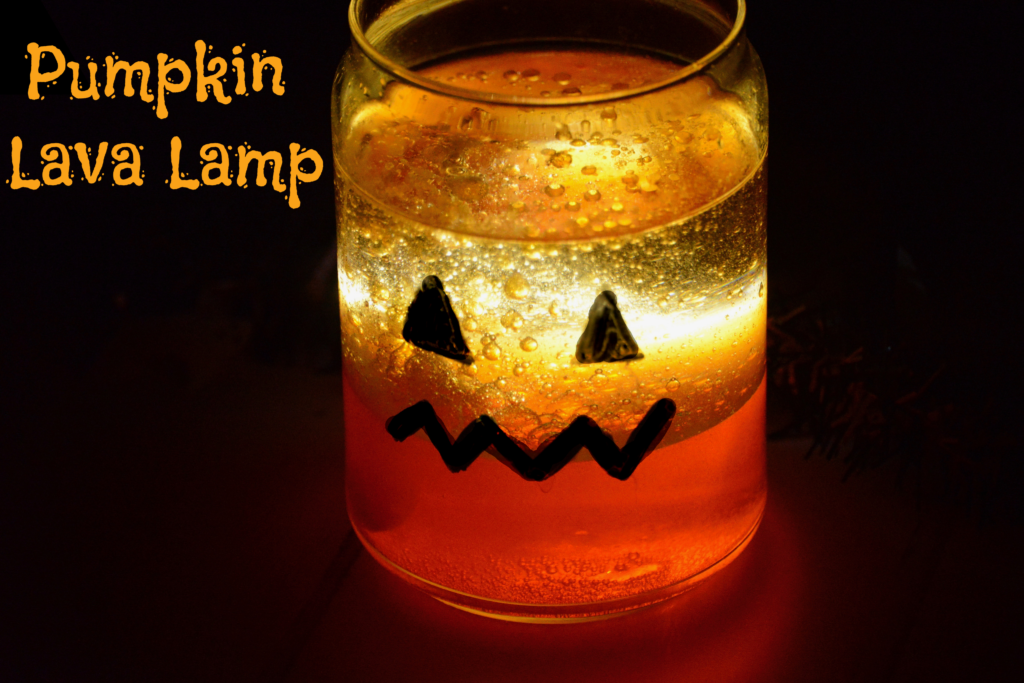
How about a pumpkin themed lava lamp for Halloween? These would make a great last minute pumpkin or a fun alternative if you don't fancy carving one this year.
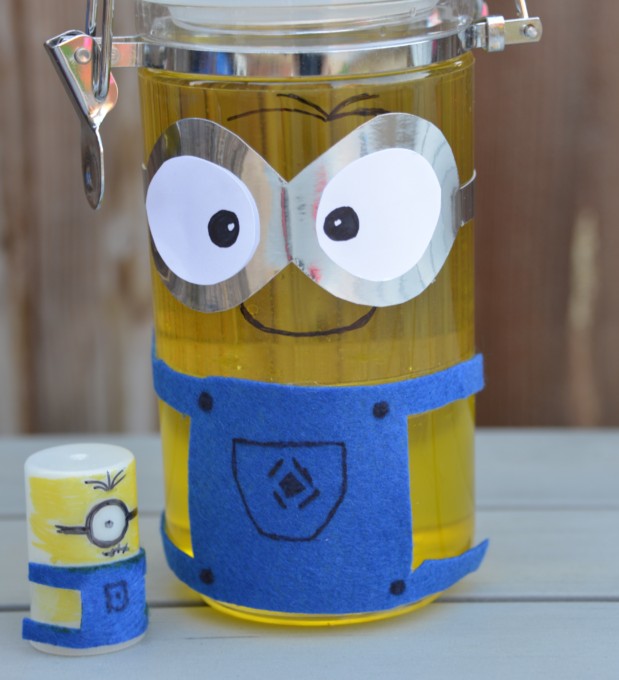
We had a lot of fun making our Minion version. If I did this again I'd use blue water at the bottom as you couldn't really see the yellow very well in the oil.
Or how about a Christmas Lava Lamp? Our reindeer and snowman were super cute and a big hit with the kids last year.
If you enjoyed this activity you'll love our other experiments for kids. We've got 100s of different science based investigations and activities, with something for all interests and ages.
The Royal Institution has a great lava lamp and other fab experiments too!
Don't forget I also have some science books available too. Snackable Science contains 60 fun edible experiments while This IS Rocket Science takes you on a journey into space, around the solar system and back down to Earth with SEVENTY fun and easy activities!
Last Updated on April 30, 2021 by
Reader Interactions
Source: https://www.science-sparks.com/how-to-make-a-lava-lamp/
0 Response to "How to Make an Easy Lava Lamp Sciencekidsconz"
Post a Comment